Trézor.io/start® | Starting Up Your Device | Trézor®
As the adoption of cryptocurrencies grows, so does the importance of securing digital assets from theft, scams, and online vulnerabilities. Enter Trézor® — the world’s first hardware wallet, created by SatoshiLabs, and trusted by millions globally. Whether you're holding Bitcoin, Ethereum, or a diverse portfolio of altcoins, starting up your Trezor device the right way is critical to protecting your crypto.
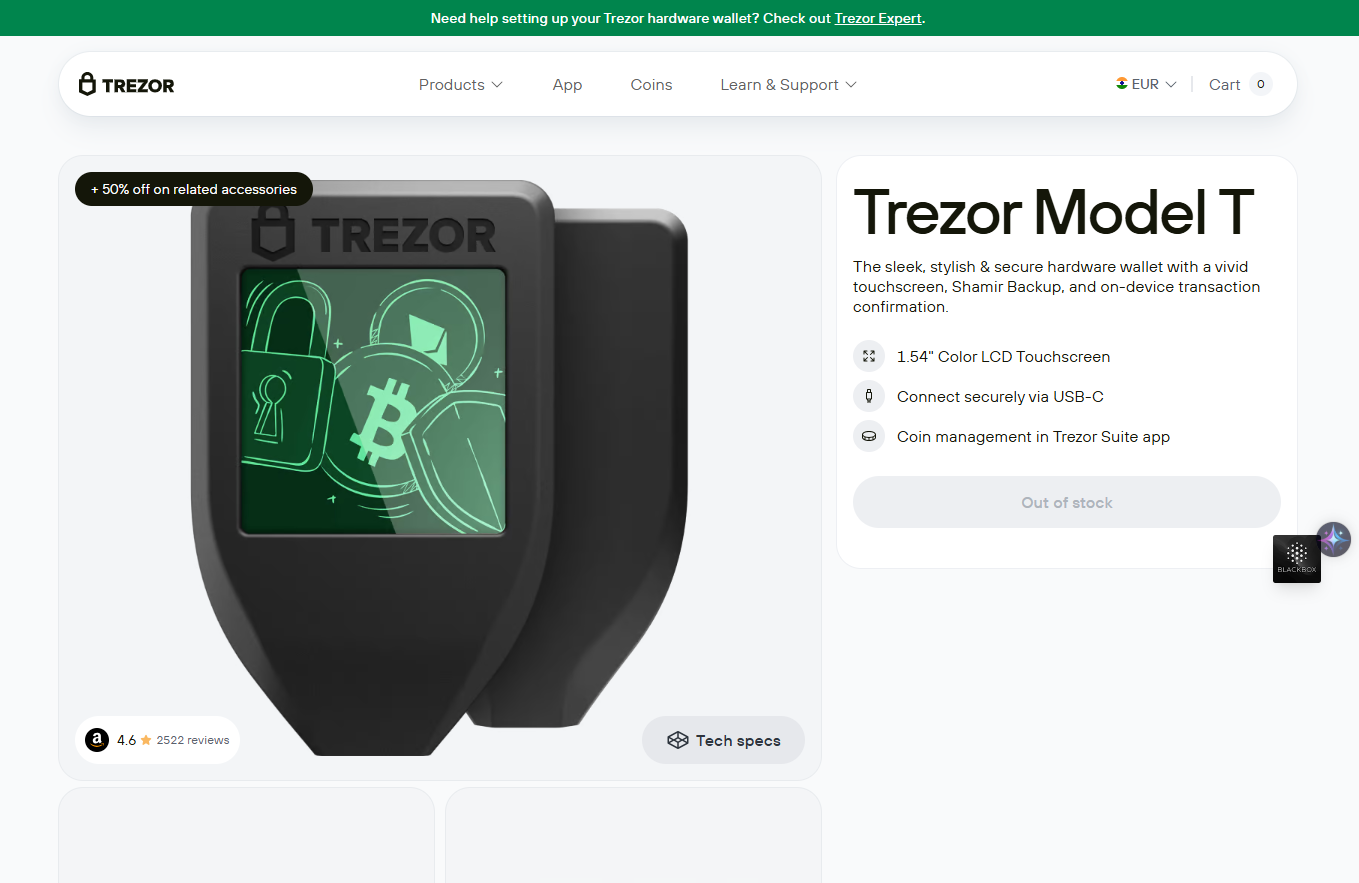
The official and secure place to begin is Trézor.io/start, where you’ll find everything needed to set up your new Trezor Model One or Trezor Model T.
Why Start at Trézor.io/start®?
There are countless phishing websites and fake wallets posing as Trezor. To ensure your crypto remains safe, always begin your hardware wallet setup through Trézor.io/start. This official page will guide you through:
- Setting up your hardware wallet safely
- Installing Trezor Suite, the official app
- Updating firmware securely
- Creating your recovery seed
- Protecting your PIN and device
Starting at this official page ensures you avoid fake firmware, fraudulent apps, and scams that could compromise your assets.
Unboxing and Preparing Your Device
When you receive your Trezor hardware wallet, make sure the packaging is sealed and untampered. Inside the box, you should find:
- The Trezor device (Model One or Model T)
- USB cable
- Recovery seed cards
- User guide and stickers
Once confirmed, plug in the device to your computer using the USB cable. You’re now ready to proceed to Trézor.io/start.
Step-by-Step Setup Guide
1. Visit Trézor.io/start
Open the official page in your browser and select your device model. The site will automatically detect whether you’re using a Model One or Model T and tailor instructions accordingly.
2. Install Trezor Suite
Click the link to download Trezor Suite, the official desktop app, for your operating system (Windows, macOS, or Linux). It is strongly recommended to use the desktop version instead of the web version for enhanced security.
Once installed, launch the app and connect your device.
3. Install Firmware (If Required)
If your device is brand new, it may come without firmware. Trezor Suite will prompt you to install the latest verified firmware. Always confirm the firmware details directly on your device screen before proceeding.
4. Create a New Wallet
Once the firmware is installed, you can choose to:
- Create a new wallet
- Recover an existing wallet using your 12/24-word seed
To start fresh, select “Create new wallet.” Follow the on-screen prompts carefully.
5. Write Down Your Recovery Seed
The device will generate a 12-word or 24-word recovery seed (depending on the model). This seed is the only backup of your wallet. Write it down on the supplied recovery card and store it offline in a secure location.
🔒 Never take a digital photo or type it on a computer or phone. If someone gets access to your seed, they get access to your funds.
6. Set a PIN Code
To protect your device from unauthorized access, create a secure PIN code using the randomized keypad on Trezor Suite and the physical buttons on your device. The PIN is required every time you plug in your wallet.
After Setup: What’s Next?
Once setup is complete, you can:
- Add accounts for Bitcoin, Ethereum, and other cryptocurrencies
- Send and receive crypto securely
- View your real-time portfolio
- Buy, sell, and exchange crypto via integrated services
- Connect to dApps and Web3 tools using Trezor Bridge or MetaMask
Optional features include:
- Passphrase protection for hidden wallets
- Tor integration for enhanced privacy
- Labeling and notes stored securely with encrypted Dropbox sync
Final Security Tips
- Only use Trezor Suite downloaded from Trezor.io
- Never share your recovery phrase or PIN with anyone
- Use the desktop version of Trezor Suite for maximum protection
- Enable passphrase protection if you want an additional layer of defense
Conclusion
Starting your crypto security journey with Trézor begins at Trézor.io/start. Whether you're setting up a new wallet, installing firmware, or initializing your PIN and seed phrase, this official guide ensures your setup is safe, legitimate, and fully under your control.
By following the instructions step-by-step and using only official resources, you can enjoy peace of mind while navigating the decentralized world. Your crypto. Your control. Your Trezor.
Made in Typedream